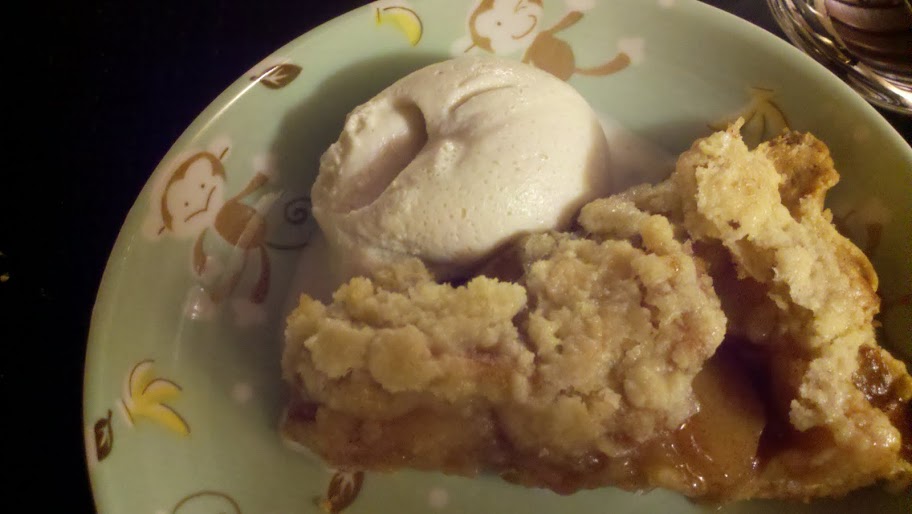
If my husband had his way, I’m pretty sure he’d want apple pie–with vanilla ice cream, of course–for every meal. Alas, since our physical hearts probably can’t take it (although our metaphorical hearts would be in heaven!), I try to limit apple pies in the house to Dan’s birthday and Thanksgiving. (Thanksgiving conveniently falls around his half-birthday. Coincidence? I think not!)

I attempted my first gluten-free pie crust in April as Dan’s Celebratory Birthday Month. (Though his birthday’s in late March, I was out of town playing a gig. He was very understanding, but my guilt warranted a whole month of celebration. Besides, birthdays are simply more fun if extended!)
Having no inkling that the gluten-free pie crust would actually be better than a wheat crust (I kid you not, it really is!), I told Dan I’d make him another “normal” apple pie if this one didn’t suit his tastes, which of course resulted in him saying before even tasting it, “Well, I clearly don’t like this one then. I think we’ll need a second pie.”  D’oh! Didn’t quite think that through before saying the offer out loud! Anyway, thankfully, this pie crust was so flaky and crispy–even the next day, when a wheat crust would be soggy!–Dan conceded that we could wait until Thanksgiving for the next one. So, just in time, I’m sharing how to make it!
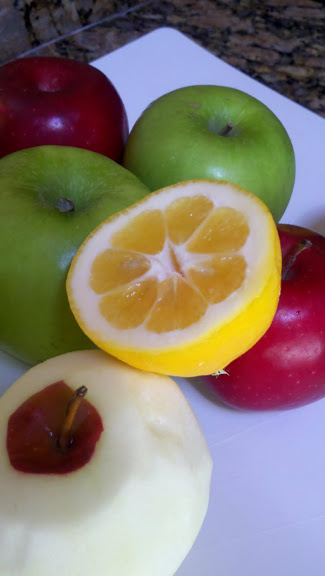
After getting pie apple recommendations from my mom (whose mother–whom we called Mimi–made notoriously fabulous apple pies), I went with half late-season Rome apples and half Granny Smith apples, all organic. The Rome apples were a bit soft due to the late season (it was April, after all), but their sweet softness played off the tart, crisp Granny Smiths really well. For the filling, I followed Mimi’s recipe (basically just apples, sugar, lemon juice, cinnamon, and butter—mmm…butter…). For the fall we’ll be getting the nicest tart apples we can find in North Carolina.
Recipe: Gluten-free Apple Pie
Summary: Yet another awesome recipe based on Annalise G. Roberts’ Gluten-Free Baking Classics
Ingredients
For the crust:
- 1 cup plus 2 tbs brown rice flour mix
- 2 tbs sweet rice flour
- 1 tbs granulated sugar
- 1/2 tsp xanthan gum
- 1/4 tsp salt
- 6 tbs cold, unsalted butter
- 1 large egg
- 2 tsp orange or lemon juice
For the filling:
- 6 cups thinly sliced tart apples
- 1/3-1/2 cup granulated sugar (depending on how sweet you like your filling)
- 1/4 cup brown sugar
- 1 tbs corn starch
- 1-2 tsp cinnamon
- 1 tbs lemon juice
- 1 tbs butter, for dotting on top of filling
For the crumb topping:
- 3/4 c brown rice flour mix
- 1/2 c granulated sugar
- 1/2 tsp xanthan gum
- 1/3 c unsalted butter
Instructions
- Preheat the oven to 375 degrees.
- Coat a 9-inch pie or tart pan with cooking spray, and generously dust with rice flour. (I find it easier to dust with a flour sifter, since it seems to clump a little.)
- Mix all dry ingredients in large bowl of an electric mixer. Add butter pieces and mix until the the mixture resembles a crumbly, coarse meal.
- Add the egg and juice, mixing on low speed until the dough sticks together. Using your hands, form the dough into a ball and place on wax paper. Top with another sheet of wax paper.
- Gently and evenly roll out the dough to the desired diameter. Remove the top sheet of wax paper and invert the dough into the pie or tart pan. Remove the other sheet of wax paper and crimp edges. To prevent the crust from bubbling up, poke a few holes in the bottom with a fork (or possibly use pie weights, though I somehow don’t have those!)
- Partially bake the pie crust for 10 minutes. Cool on rack while preparing the filling and topping. Turn up the oven to 400 degrees.
- For the filling, slice apples into large bowl and toss with lemon juice. In small bowl, mix dry ingredients, sprinkle over the apples, and toss. Mound the apples into the prebaked crust and dot the top with small pieces of butter.
- For the topping, combine dry ingredients, then cut in the cold butter until it resembles cornmeal. Spoon over the apple filling and pat down so it doesn’t fall off.
- Cover pie with aluminum foil and bake for 30 minutes in the center of the oven.
- Remove foil and turn the oven temperature down to 375 degrees. Bake for 30-40 minutes more, until filling is bubbling and top is golden. If the edges are browning too quickly, cover just the edges with a pie shield or thin strips of foil. Cool on a rack before serving.
Variations
If you like nutmeg, you can add 1/2 tsp to the filling. I like my apple pie unadulterated with just really high quality cinnamon.
Preparation time: 20 minute(s)
Cooking time: 1 hour(s) 10 minute(s)
Diet type: Vegetarian
Diet tags: Gluten free
Number of servings (yield): 8

Dan conceded that we could wait until Thanksgiving for the next one.
That can’t possibly be true.
Uh Oh. I just put this pie in the oven at 375 and noticed that after the 30 minutes with the foil, it says to turn the oven down to 375! HELP
Hi Chris,
Hope it still turned out okay – I’m sorry I was a little late in getting this! I can’t imagine the 25 degree difference from the initial 30 minutes at 400 degrees will make that huge a difference – you just might have to bake it a bit longer at a lower temperature. Just be careful to cover the edges so they don’t get too brown. Let me know how it turns out?
I have two of these and plan on getting more. They are great for pies prtety to look at, and easy to pick up in the oven. You have a big fan, here. one can never have too many pie plates, aprons, or good recipes! PJ
Mmm… Pie…
I haven’t found the superfine brown rice flour yet, and when I do, I’m totally making this-but for now, I used the basic filling recipe, which I love. Complete with yummy apple pairings. Yay!
If you still can’t find the superfine brown rice flour, I will totally bring you a big bag of it in December!
Awesome! Though that will mean I have to make another pie… Muhahaha.
Darn…really? I suppose I could suffer through some more testing…
So the “preheat to 375″ really is “preheat to 400″? Yes, it turned out great! I did the first 30 min at 425 and about 40 at 375 and poked the apples with a fork for doneness.
Glad the pie turned out great – apparently the baking of it is pretty forgiving as long as you keep an eye out! That’s always nice to know…
The first preheating to 375 is for prebaking the pie crust. Then in step 6 you turn the oven up to 400 degrees to bake the fully assembled pie for the first 30 minutes. Then turn it down to 375 again in the last instruction step. I’m sorry if the way I wrote it out made it confusing…though I guess it doesn’t really matter! So glad you ended up with an excellent pie in any case!
I LOVE YOUR PLATES !